Our first apartment was in a 2 flat. It was tiny & old, but had so much charm. Part of that was the molding. I still have such happy thoughts for that place. I wish I had a some of the photos of the outside. But I did find a few of moving day. Before you continue...remember these photos are from '97 -'98!! No judging the decor!! he !he!

Moving in & opening a few gifts from Mom & Dad :)

Our little living room


( I'll post a better pic when eveythings in full bloom!)
I must admit, I wasn’t excited to build. I wanted “instant” charm & history! My hubby wanted to “instantly” live there & not have a list of rehab projects that I was sure to have for him with an older home. Oh well….he had a point. I have to admit he was right. Its sometimes more fun to decorate your home rather than rehab your home.
Everyday of the first month after we moved in, I painted, nailed, hung curtains, painted some more & added tons of molding!

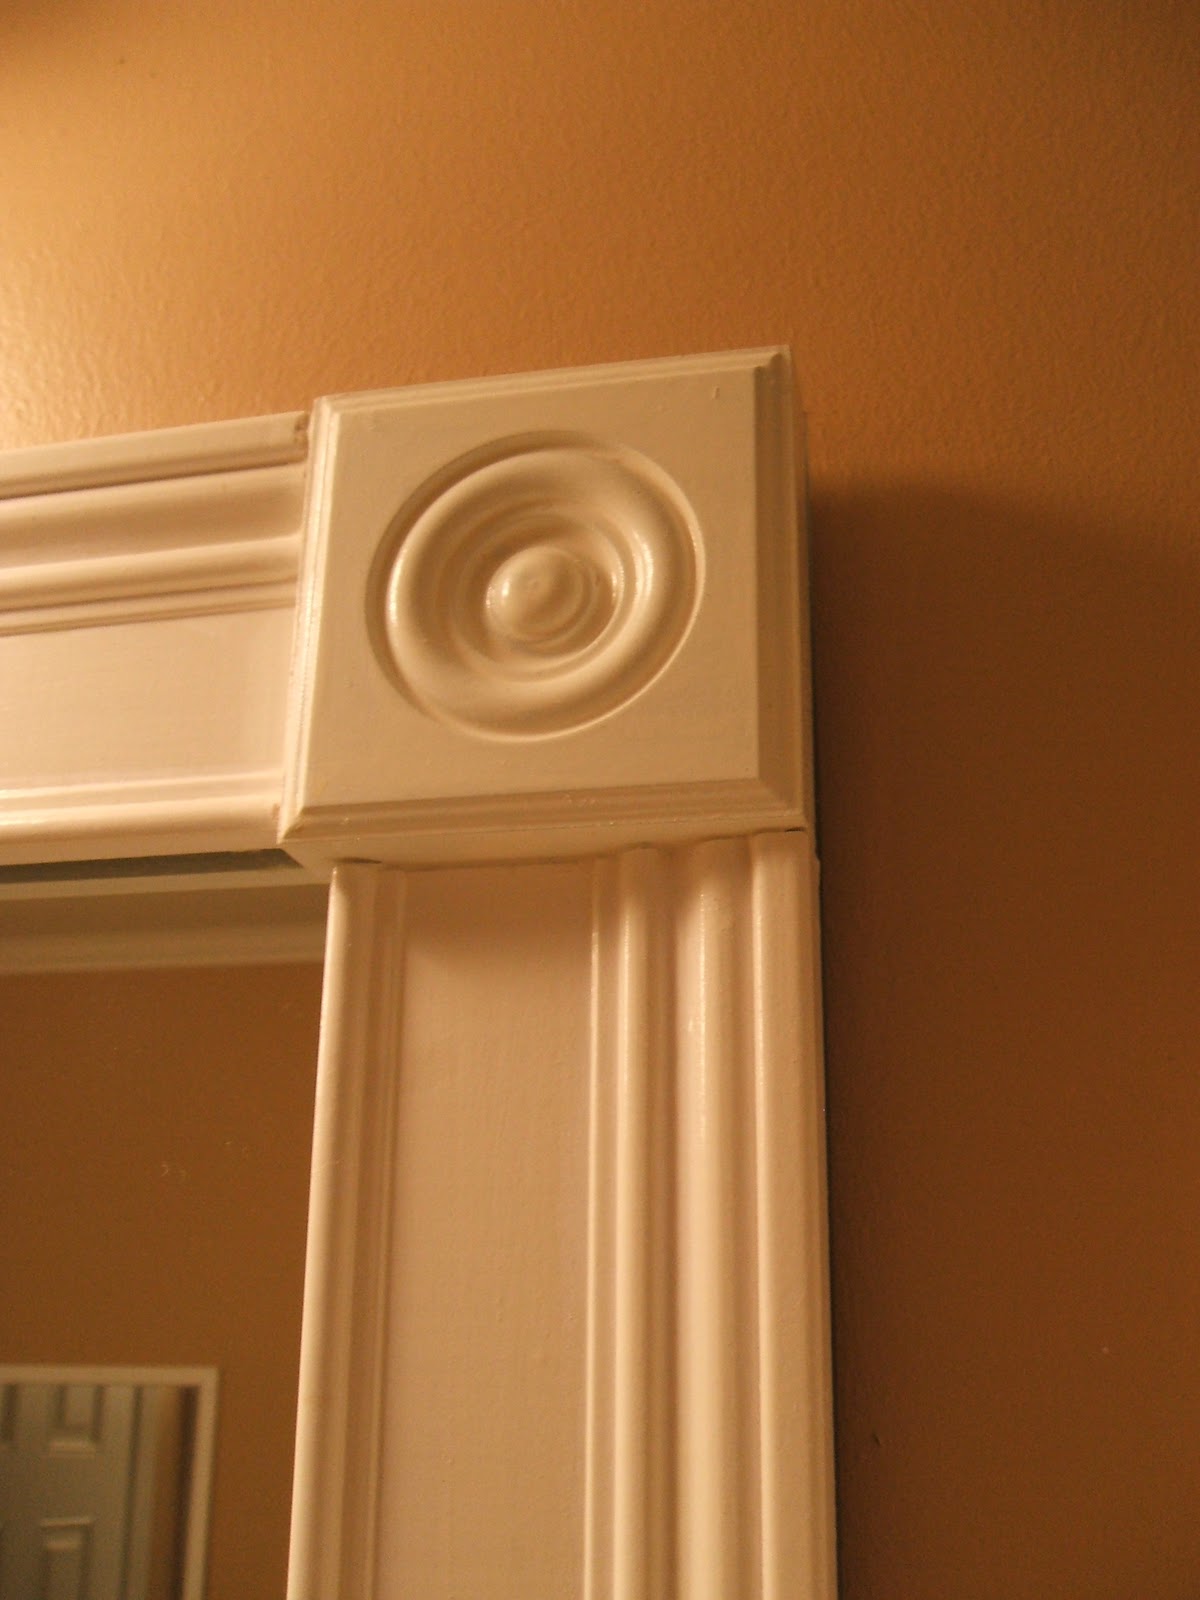
Upstairs bathroom molding

Upstairs hall

View from the upstairs into the Living room. We have a super high ceiling in that room. Which is nice, but makes for complicated decorating. I decide place the molding just under the window to help keep the room from feeling like its goes on forever.
But on this wall....

I just painted so it matched the view of the upstairs hall. How did I paint that high you ask? Picture a dinning room table, a ladder, an extendable paint rod & a mom telling her then 5 year old, " you know how to dial 911 right?" I know I shouldn't have attempted it but I did & its done :) I have something big planned for that empty space too. Just haven't gotten to that project yet :)

I added it to the doorways & chair rail.....


By the time my husband got home from work each day, another room was done!!
Which leads me to my major project this last week….our family room & kitchen. Why did I wait 4 years to add the molding to these 2 rooms? I think I just did so much all at once, I was just TIRED & wanted to just LIVE here.
So that’s what’s been keeping me busy! I was on such a roll and then my oldest got sick , then my youngest too. Every ones feeling better & I finally finished! I’ll share the before & afters on Friday : )